Custom Email Templates
Send your PDFs by email and customize the text and subject line with an easy to use editor or using your own HTML code.
This feature is included in the Professional Plan and above.
Custom Email Templates
You can email all generated PDFs from your monday.com board to the user who created the document or to any email address of your choice.
People columns and email columns are also supported.
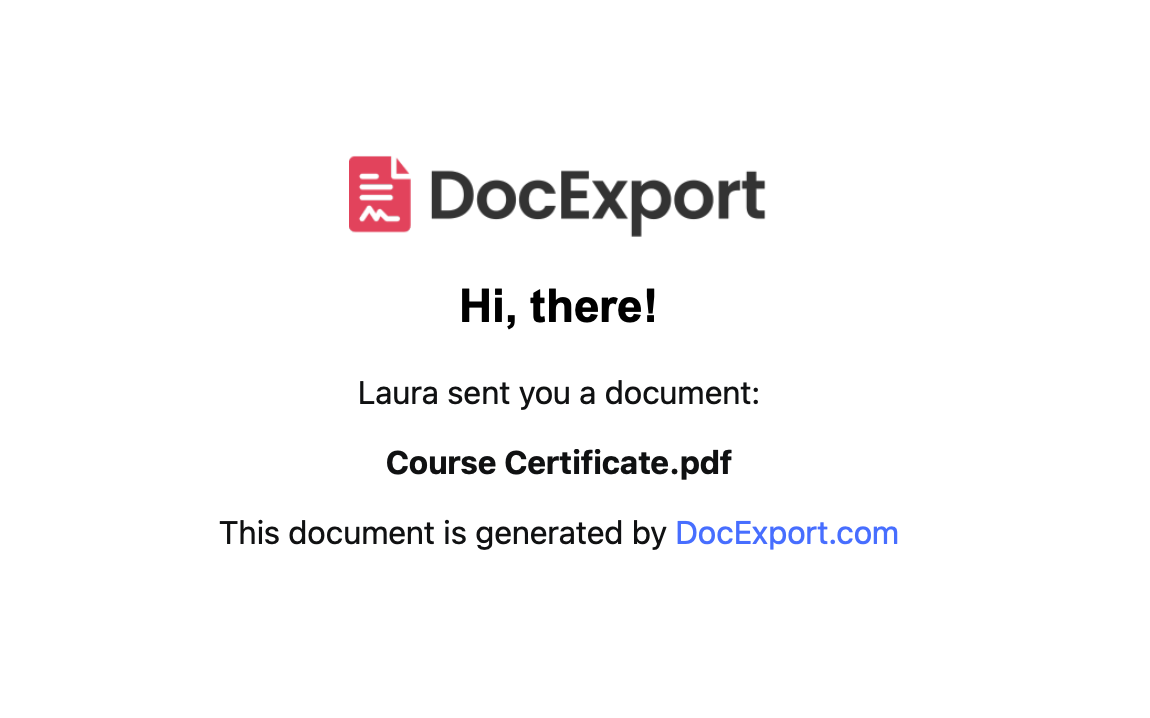
By default, all attachments are sent using the standard DocExport email template:

You want to change the look? No problem! This email can be tailored to you and your needs by adding custom email templates.
Note: Custom Email Templates are only available for the DocExport Professional plan or any higher plan.
Add Custom Email Template
Open the DocExport view in your monday.com board
Go to "More" and click on "Templates"
Choose "Add Email template"


Define the name of your email template by clicking on the name field.
Customize your email template by entering a custom subject line and defining the email body. You can use the text editor and create your HTML template from scratch or directly copy your HTML code into the email body field by switching to the code view.
Edit your template afterwards by clicking on "edit" in the template view.

Use placeholders in your templates
You can also use placeholders in your Custom Email Templates, e.g. if you want to output the name of the document that is attached to the email.
You can use the following placeholders:
{{Name of Document}} - for the name of the document attached
{{User.Name}} - name of the user generating the document
{{Board.Name}} - name of the board you are using while generating the documents
{{Item.ColumnTitle}}- value from any column, e.g. Text column, Numbers column, Date column, etc.
Select and use Email Template
1. Generate a document and go to "Actions/Automations".
2. When selecting to send it via email, you will have a dropdown menu where you can select your custom email template.
If you are setting up an automation, the chosen email template will always be used for this particular use case/recipe


Example email template
Subject: Proposal for {{Item.Project}} // {{Item.Client}}
Hi {{Item.Contact}},
I hope this email finds you well. Attached, please find the proposal from {{Item.Date}} we discussed earlier. I've put together some ideas and details for {{Item.Project}}, and I'm excited to hear your thoughts.
Looking forward to discussing it further.
Best regards,
{{User.Name}}
Custom Email Sender
You can specify a custom 'Email sender name' and custom 'Email sender address':

Custom Sender from People Column
You can also use dynamic information from a people column.
Simply add the placeholder {{Item.People}} as your 'Email sender name'.
If the title of your people column is 'Requester', the placeholder would be {{Item.Requester}}.
The 'Email sender address' can be empty and it will take the email address from the people column automatically:

Additional File Attachments
When creating your actions/automations, you can select a file column to attach additional files.
Generate an "Item Level" document
Go to "Actions/Automations"
Select "Advanced Settings"
Choose the files column which contains the files you want to attach (e.g. additional PDFs, images, etc.)

Troubleshooting
In some cases, a "Space" or a "Pipe ( | )" is not supported in email placeholders. If you're running into any issues, please modify your placeholders slightly by wrapping the column title between [" and "].
Example:
Instead of {{Item.Client Name}} use {{Item.["Client Name“]}}
or if you want to format a date:
Instead of {{Item.Expiry Date | MM-dd-yyyy}} use {{Item.["Expiry Date | MM-dd-yyyy"]}}
If it still doesn't work, please reach out to our Support Team.
Last updated